Following up on yesterday’s post, here are the instructions to install HouseAgent on Linux.
I took one of the most popular Linux distribution’s (Ubuntu) for this blog post, but it should be easy to apply this guide for other distributions as well.
Step 1: installing HouseAgent prerequisites
The first step is to install the HouseAgent prerequisites, there are two (Erlang and RabbitMQ) but you can install them using a single command line.
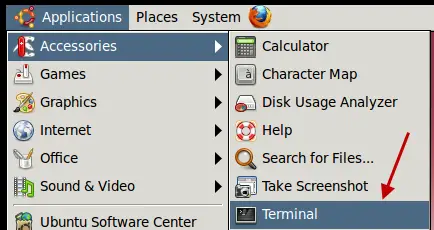
Start the terminal in Ubuntu:
Now enter the following command:
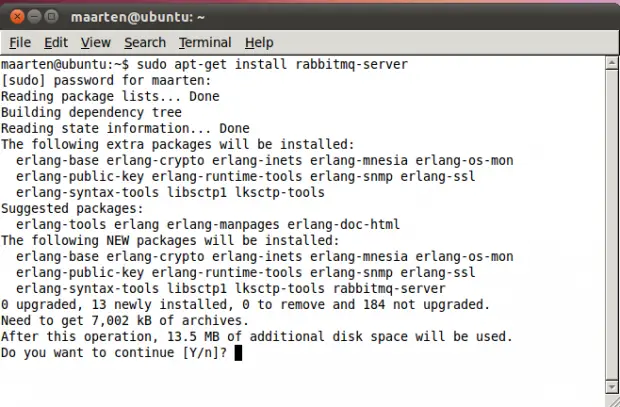
Hit “Y” to continue the installation.
Step 2: Installing HouseAgent
Download “HouseAgent.tar.gz” from the HouseAgent forum pages, and put it in a location of your liking. I chose HouseAgent in my home directory.
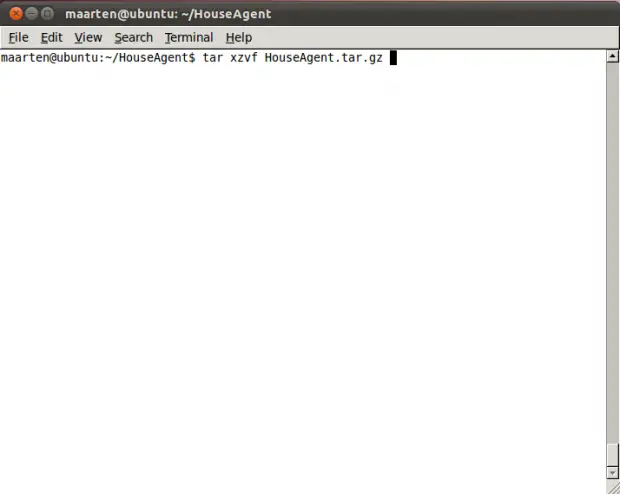
Now extract HouseAgent:
After extracting you need to copy the configuration file to /etc, you can do this with the following command line (you need to sudo this):
Step 3: Starting HouseAgent
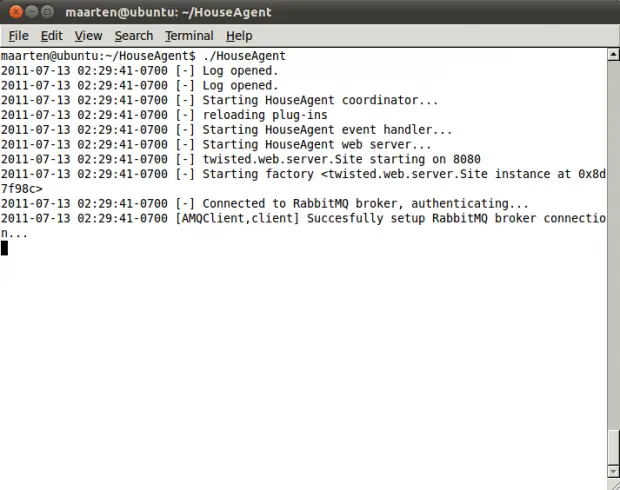
You are now ready to start HouseAgent. You can do this by running: “./Houseagent” :
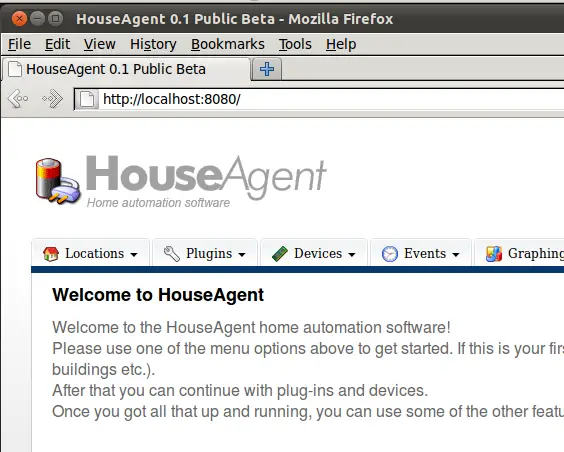
After HouseAgent has been started, point your browser to http://localhost:8080:
Congratulations, you have successfully installed HouseAgent! In tomorrow’s blog post we will look into installing the first plug-in in order to make HouseAgent actually useful.
One thought on “Installing HouseAgent on Linux”
Comments are closed.
Recent Posts
The time is finally come! Samsung have released their Galaxy Watch 4 series of watches. It features Google Wear OS 3. and it comes in two models, being the standard model and the watch 4 classic. In...
Microsoft 365 Defender cross check with on-premises Active Directory
Recently I was reviewing the new Microsoft 365 Defender portal and I noticed that a few endpoints were missing from the device inventory. This got me thinking that it would be great if I could...


Hi Maarten,
Thanks for delivering an alternative to the many expensive applications out there. Excellent to see that you’ve made it run on Linux as well, as I think it’s the OS of choice of many folks with a home-server or NAS.
I loved to give it a try, but I’m stuck at the point where I need to download the linux binaries. You mentioned a houseagent forum. I guess you are referring to houseagent.nl? On that forum there should be a section ‘Beta release’. I can’t find that section though. Is that a hidden area in the forum?
Cheers,
Jan