I have been working a bit on hardware again lately, and I am currently playing around with ATtiny micro controllers
These tiny little buggers have 8 pins, out of these pins a maximum of 6 I/O pins can be used (you would have to re-purpose the reset pin for 6th I/O pin, which is a very bad idea! This basically makes the chip unprogrammable from an ISP. So just stick with 5 I/O pins.). Some other specs of this of this MCU:
– 8Kb flash (yes, space does matter!)
– 0.5Kb SRAM
– Maximum operating frequency (20Mhz, using an external crystal)
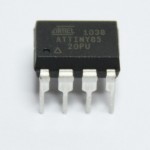
Here’s a picture of this MCU:

To program this MCU you have to use an ISP (In System Programmer) programmer. I own an USBTinyISP produced by Adafruit, which is perfect for this job. There is a minor drawback though: the ATtiny chips are not supported out of the box within the Arduino IDE. However, there is a perfect open source library by the name of arduino-tiny available to support this MCU within the Arduino IDE.
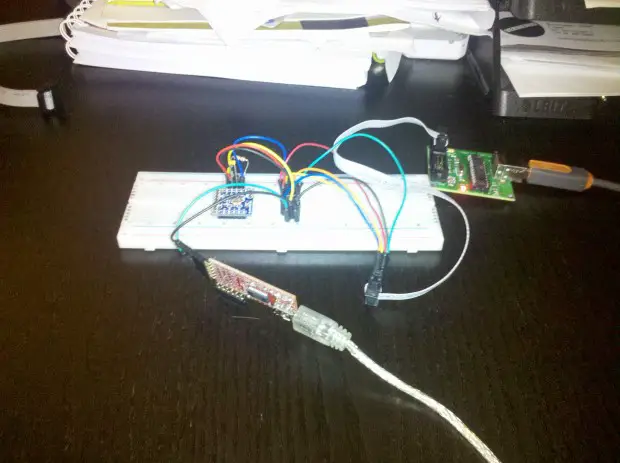
Here’s a picture of my test setup with the USBTinyISP (on the right) connected:
The pins are connected as follows:
- ATtiny Pin 2 to USBTinyISP SCK
- ATtiny Pin 1 to USBTinyISP MISO
- ATtiny Pin 0 to USBTinyISP MOSI
- ATtiny RST pin to USBTinyISP RESET
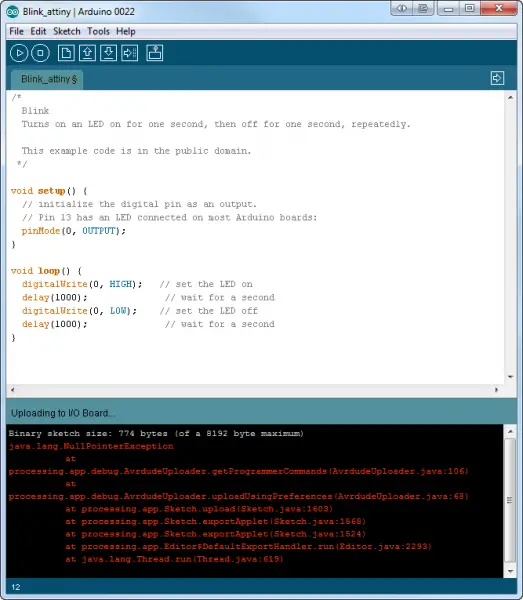
After getting the connections right, I started my first programming attempt. The test sketch blink, which is the “hello world” for MCU’s compiled correctly but then:
Hmm, nasty java exception there. After some digging around I figured out the incorrect programmer was getting addressed in the boards.txt file coming with the arduino-tiny project. This file is located under in the Arduino hardware/tiny/ folder. In order to make it work with the USBTinyISP, you have to change the following line for each target board (the ATtiny85 at 1mhz is illustrated here):
attiny85at1.upload.using=pololu
Into the following:
attiny85at1.upload.using=arduino:usbtinyisp
After restarting the IDE, I was able to program the sketch!
Debugging
For standard Arduino’s, you can use a built in serial interface to debug. There is no such thing available for ATtiny chips. However, the arduino-tiny library does offer a debug interface. I used the USB-BUB from Modern Device to setup a debug interface. For the ATtiny85 the standard arduino-tiny debug interface is tied to PB3 of the ATtiny.
Once setup, you can use the regular Serial.begin() and Serial.print/println() functions. I connected PB3 to the RX pin of the USB-bub, off course there’s also a ground connection required so I connected the GND of the USB-BUB to the GND of my ATtiny. After that I was ready to start debugging…
So, here we go.. ready to start tinkering!


One thought on “Programming and debugging an ATtiny85 using USBTinyISP and an USB-BUB”
Comments are closed.