Agreed, a breadboard looks nice and “hacky”. But, it doesn’t really fit nicely into my interior 🙂
It’s time to give the Jeenode infrared sender/receiver a better home!
The main ingredients to get this going are:
- Hot glue (love that stuff)
- Solder
- Some wires
- A Jeelabs carrier board with case
- A drill
- A lot of patience…
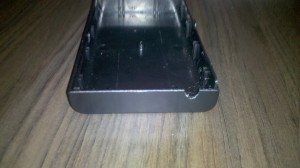
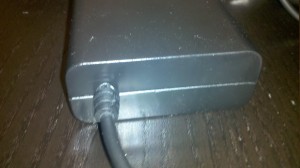
I started out drilling a hole for the power supply. I used an USB cable to power the Jeenode (I cut the unused wires). USB is on a lot of devices nowadays (media boxes, media tanks, sat receivers you name it) so this is an ideal power source for my IR box.
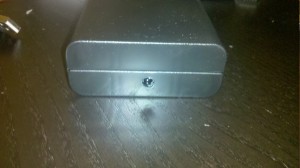
Here is the hole in place (one part of the box is shown):
And here is the result of the closed box:
The next step I took was to give the IR receiver a nice position, I choose the opposite of the power connector. I did this because I want the power connector, and other connectors out of sight.
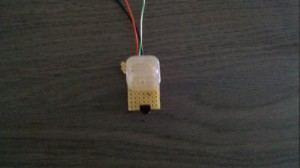
Once again I drilled a hole, inside the box I had to make a little piece of plastic tube to lift the IR sensor (I soldered it to a little hobby print board)
Here’s a picture of the plastic tube, and the IR sensor soldered on the hobby print board:
And here is it glued to the box (I am a sloppy solderer, but hey it’s inside a box anyway 🙂 )
And this is how it looks on the outside:
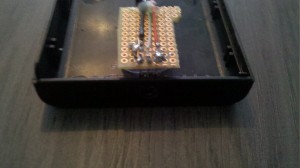
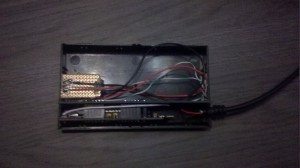
Next up was wiring the cables the same way as on the breadboard, this was more work then I expected it to be. Took me quite a while to get everything wired up.
Here’s the result of the wiring inside the box:
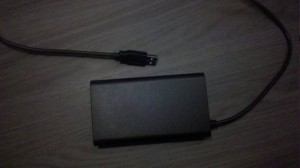
And this is how it looks from the outside:
That’s it! The receiver has been put inside the box, I need some more time to fit the sender inside the box. I have some different idea’s for that instead of drilling holes.
This step in the project required quite some different skills (drilling, glue’ing, soldering etc)
2 thoughts on “Jeenode infrared project part 4: a better home…”
Comments are closed.
Recent Posts
The time is finally come! Samsung have released their Galaxy Watch 4 series of watches. It features Google Wear OS 3. and it comes in two models, being the standard model and the watch 4 classic. In...
Microsoft 365 Defender cross check with on-premises Active Directory
Recently I was reviewing the new Microsoft 365 Defender portal and I noticed that a few endpoints were missing from the device inventory. This got me thinking that it would be great if I could...

Dude, je bent toch niet DE enige echte Maarten Damen uit Doetinchem?
Dude, are you THE real Maarten Damen from Holland?!
Haha, the one and only 🙂 Das lang geleden!